
Generate Images
Turn a text prompt into images — model, ratio, references, and a full detail viewer, all in one page.
The Image workspace (sidebar → Image) is the fastest way from words to pictures: one composer, your whole generation history above it, and folders that keep every project's media tidy.
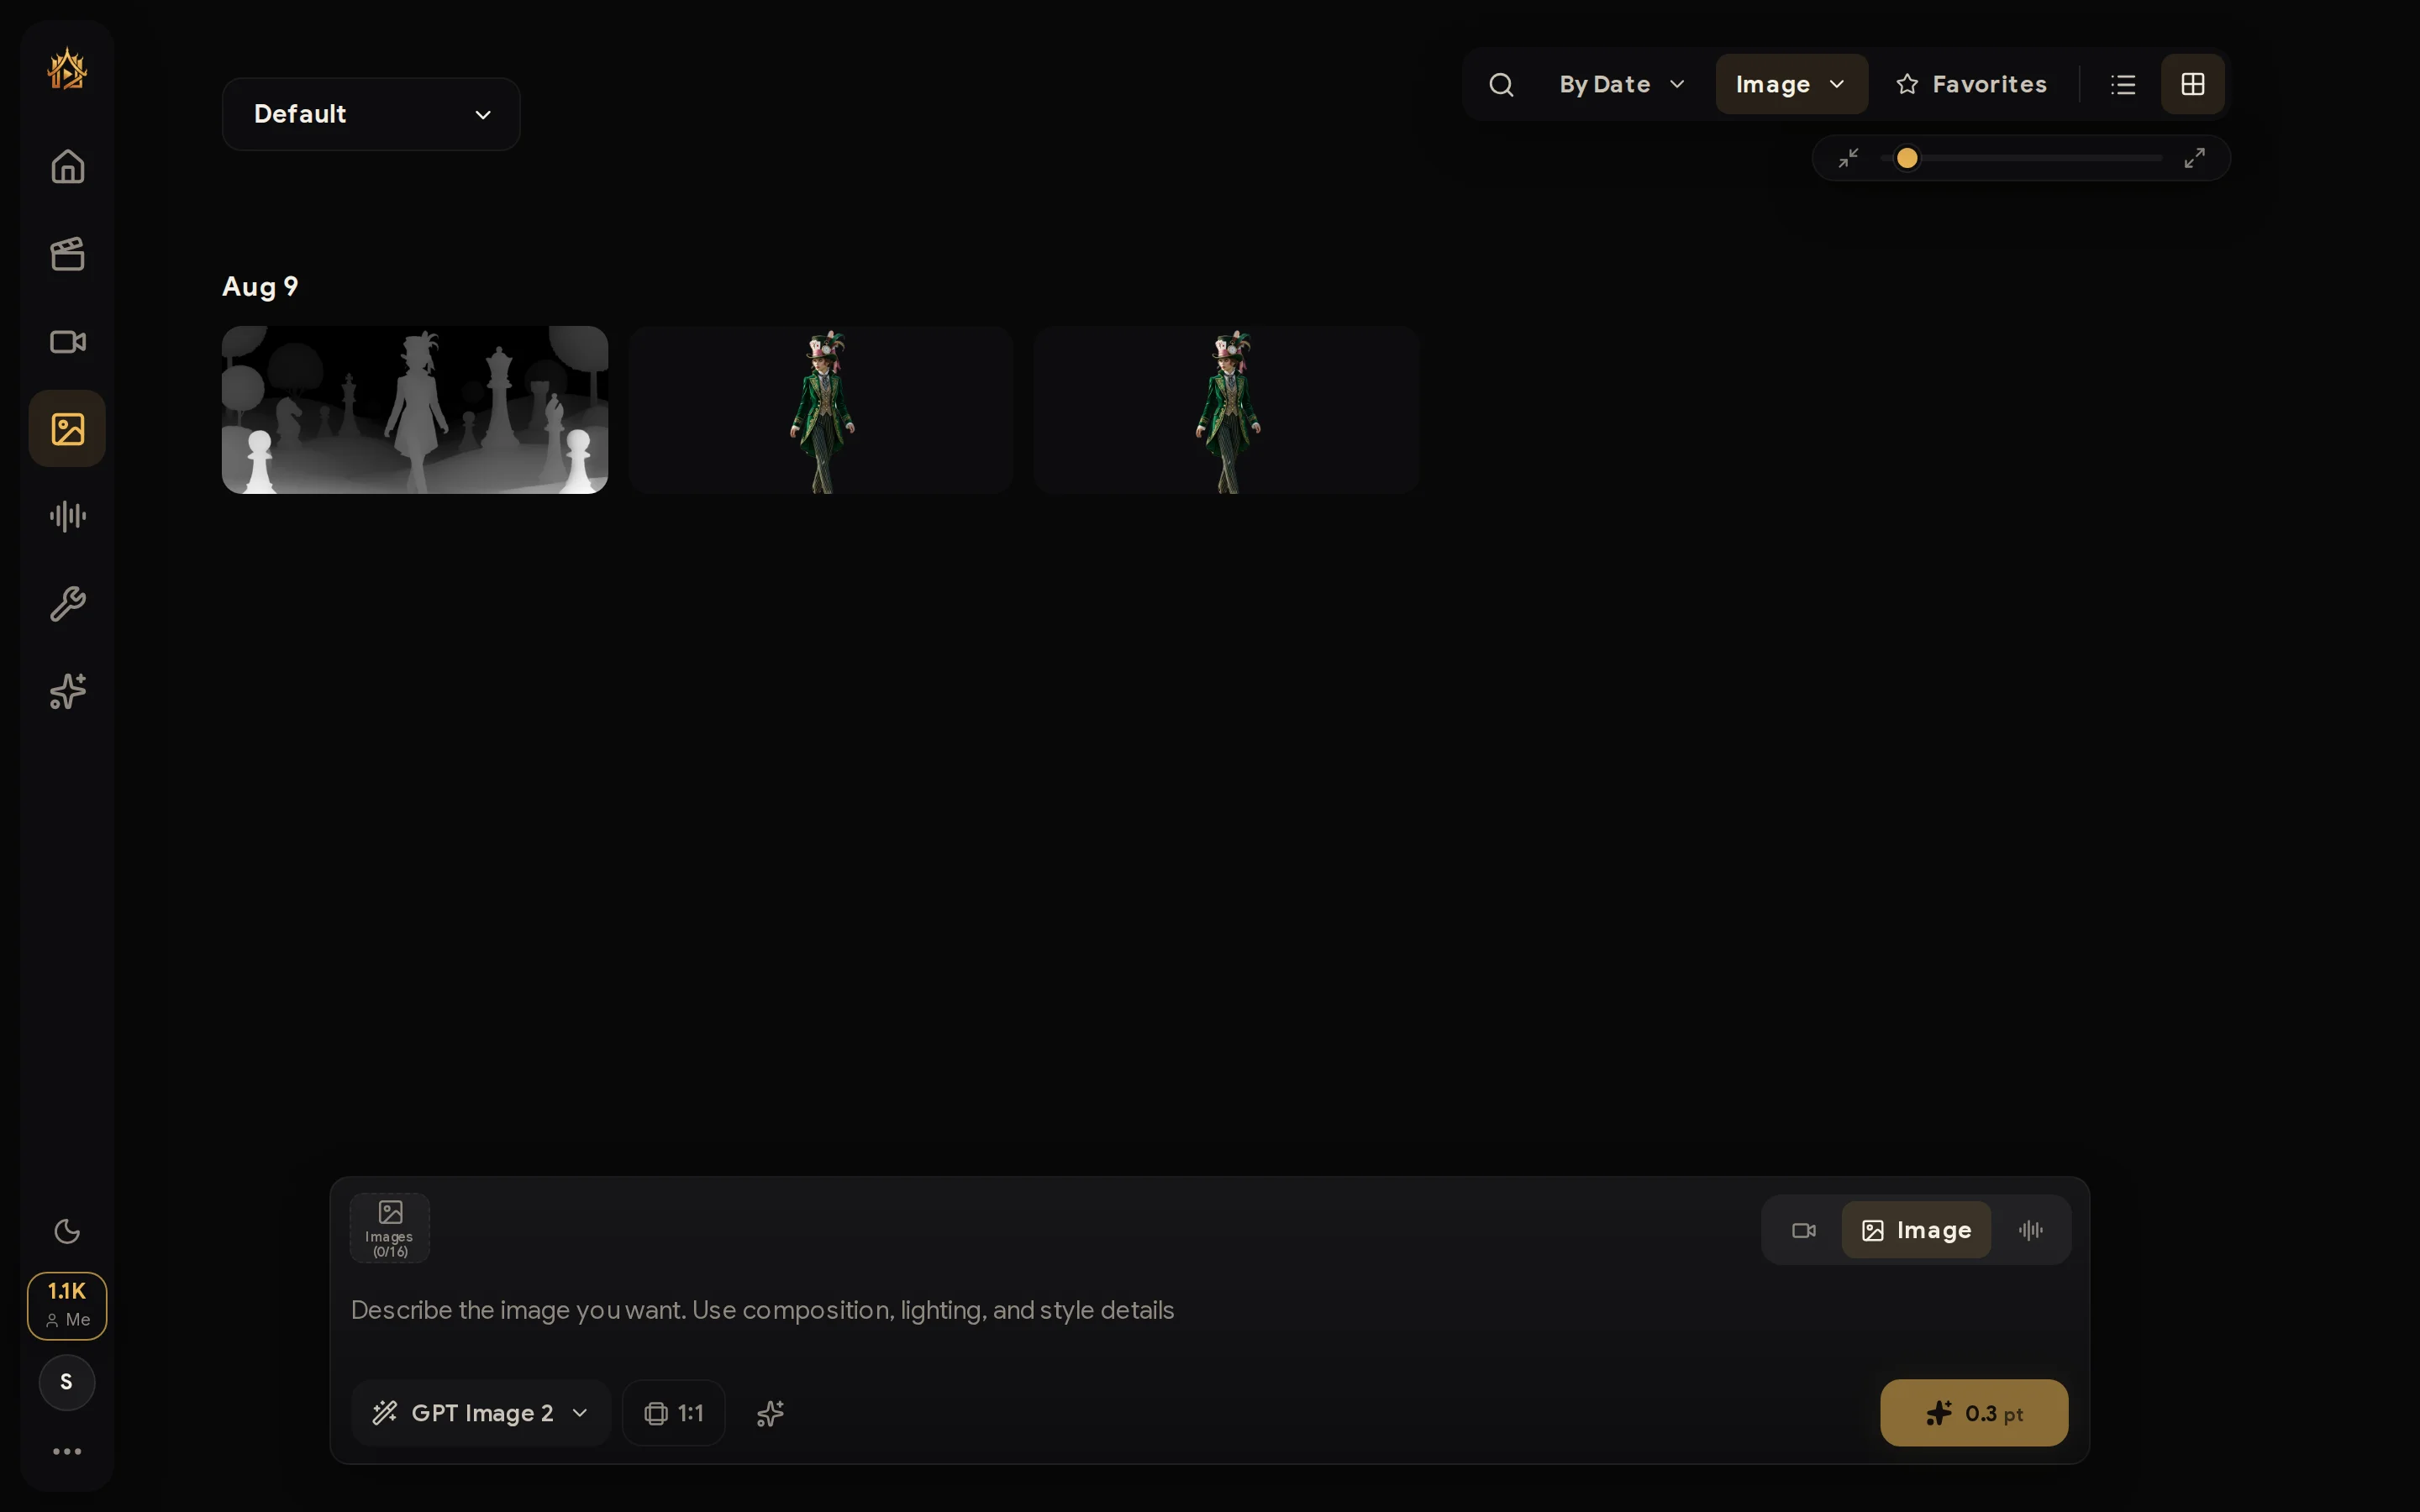
1. Write a prompt
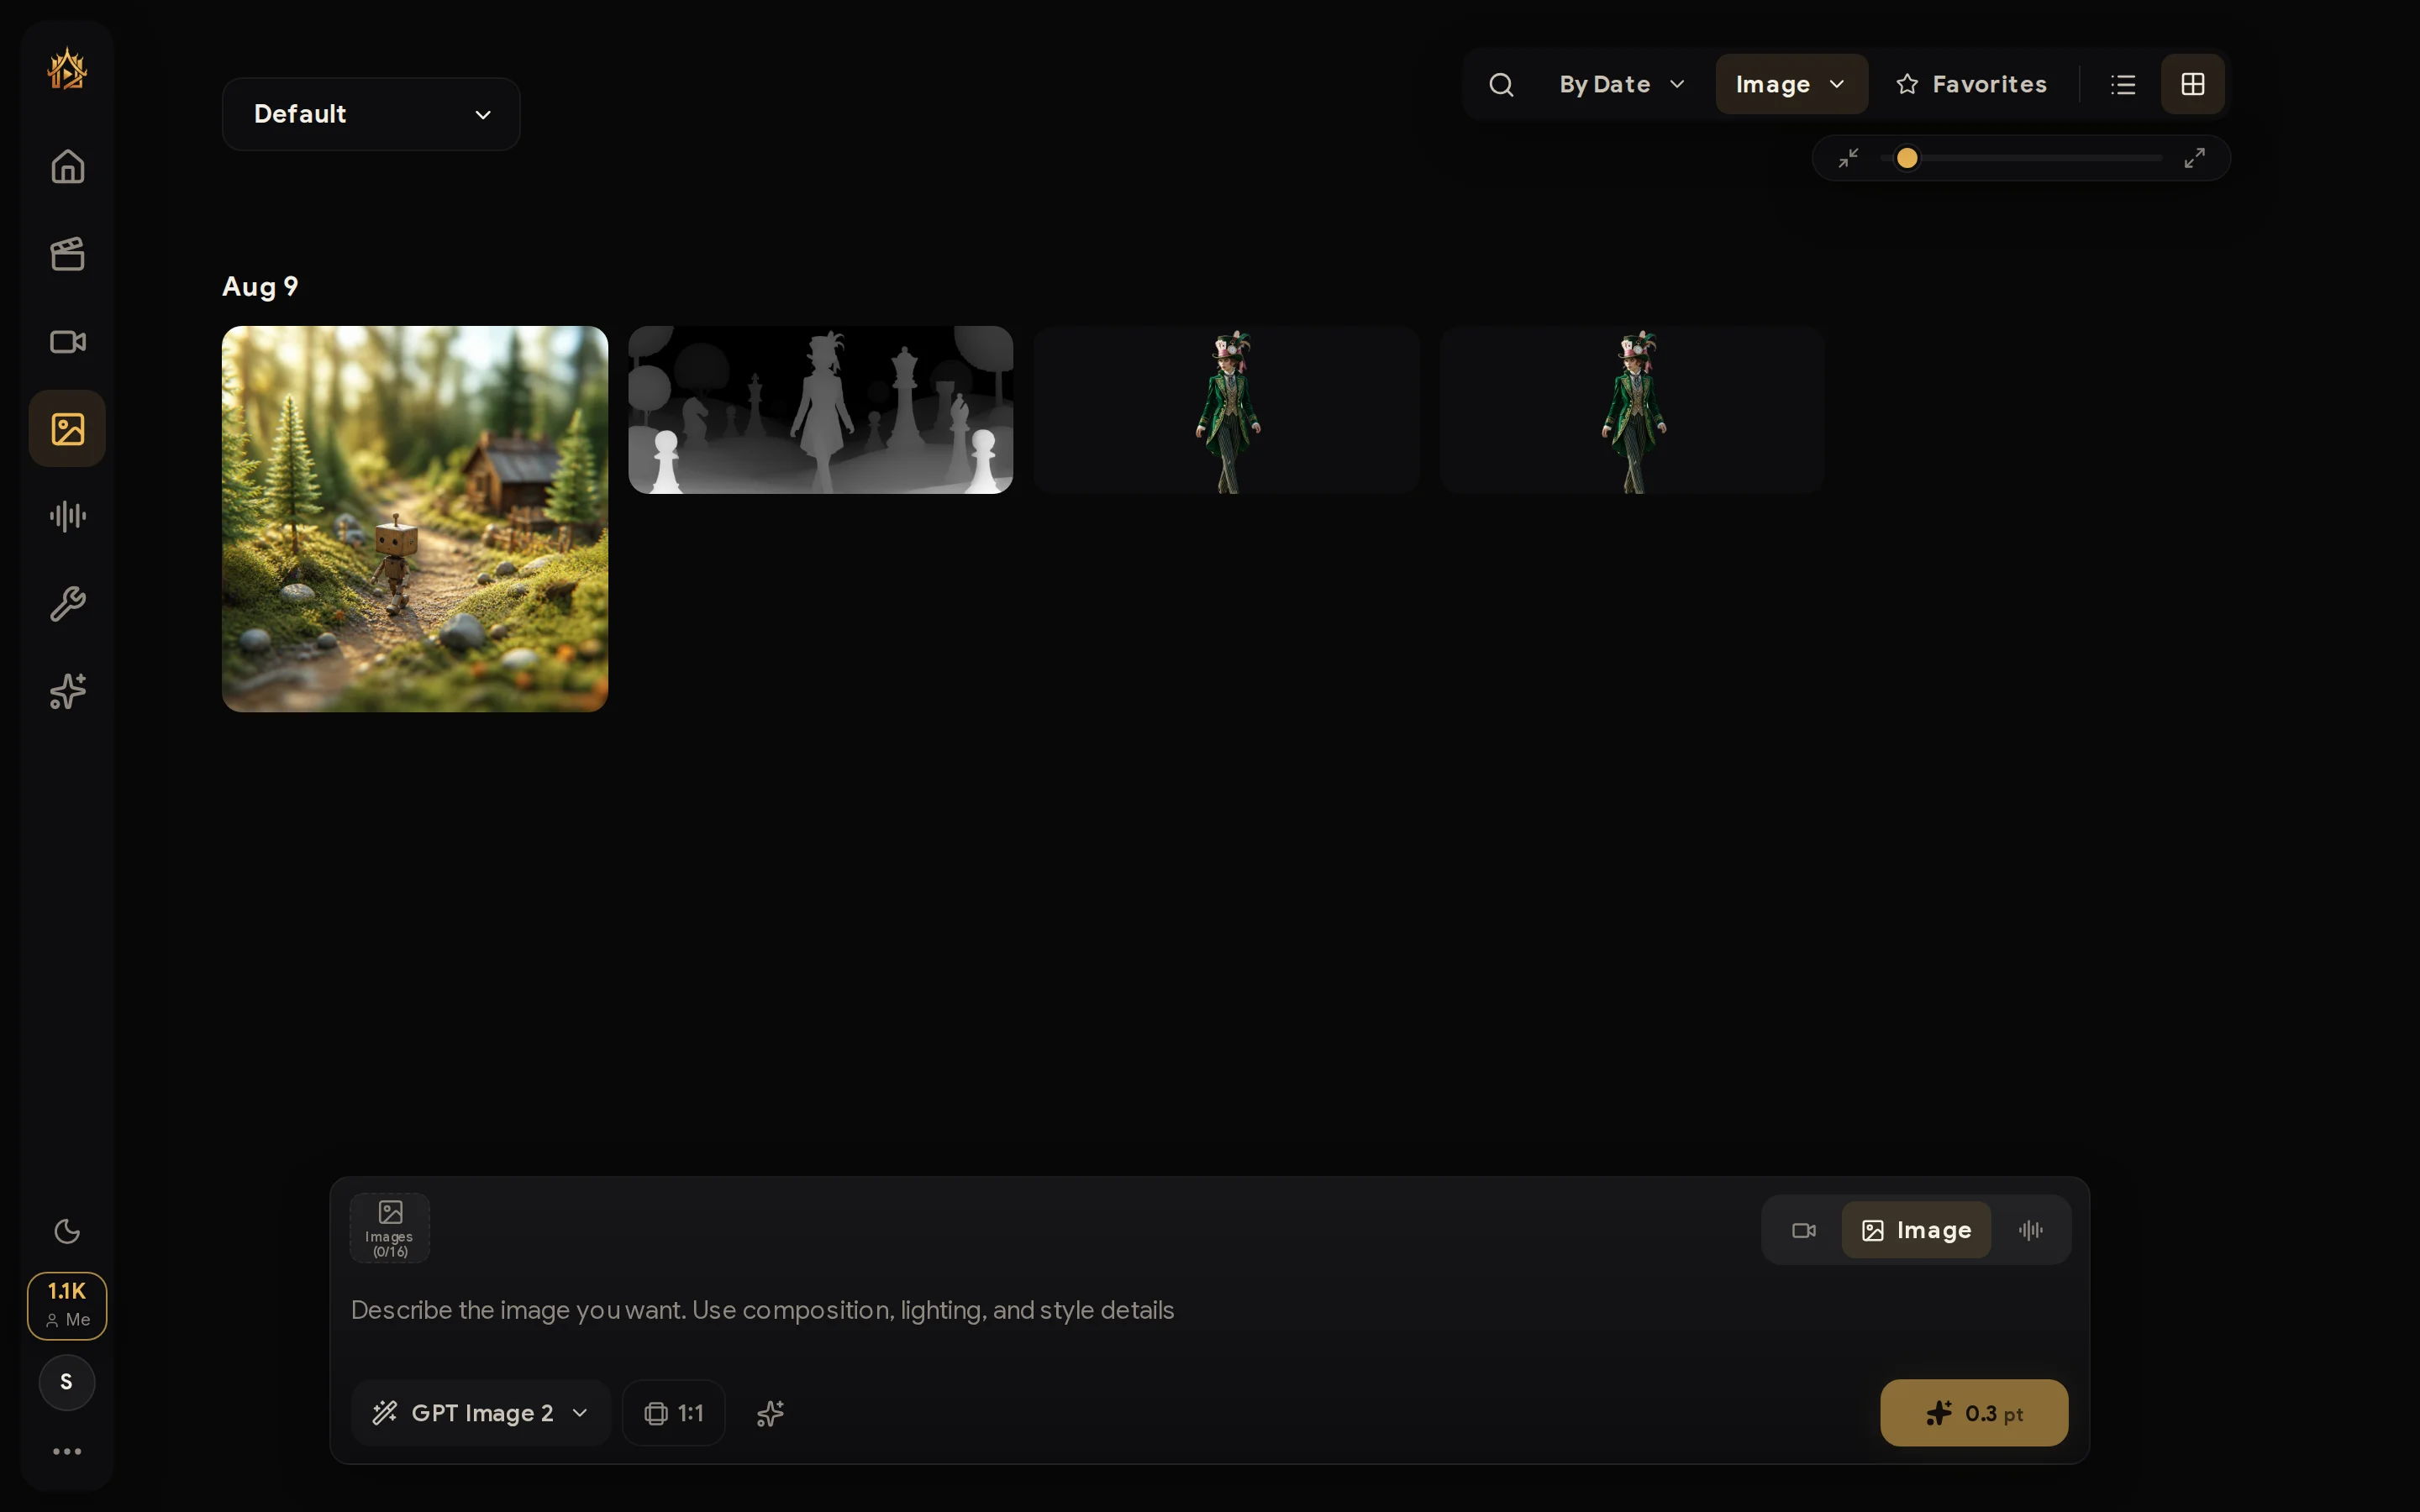
Describe the image in the composer. Mention composition, lighting, and style for stronger results. Use the buttons on the left to attach up to 16 reference images, and the controls below to pick the model (e.g. GPT Image 2), aspect ratio, and prompt enhance.
Attach references — and @mention them in the prompt
The composer takes up to 16 attached files (the Images chip on the left).
And here is the power move: type @ in your prompt and pick an attachment to
mention it by name — the model then knows exactly which file you mean.
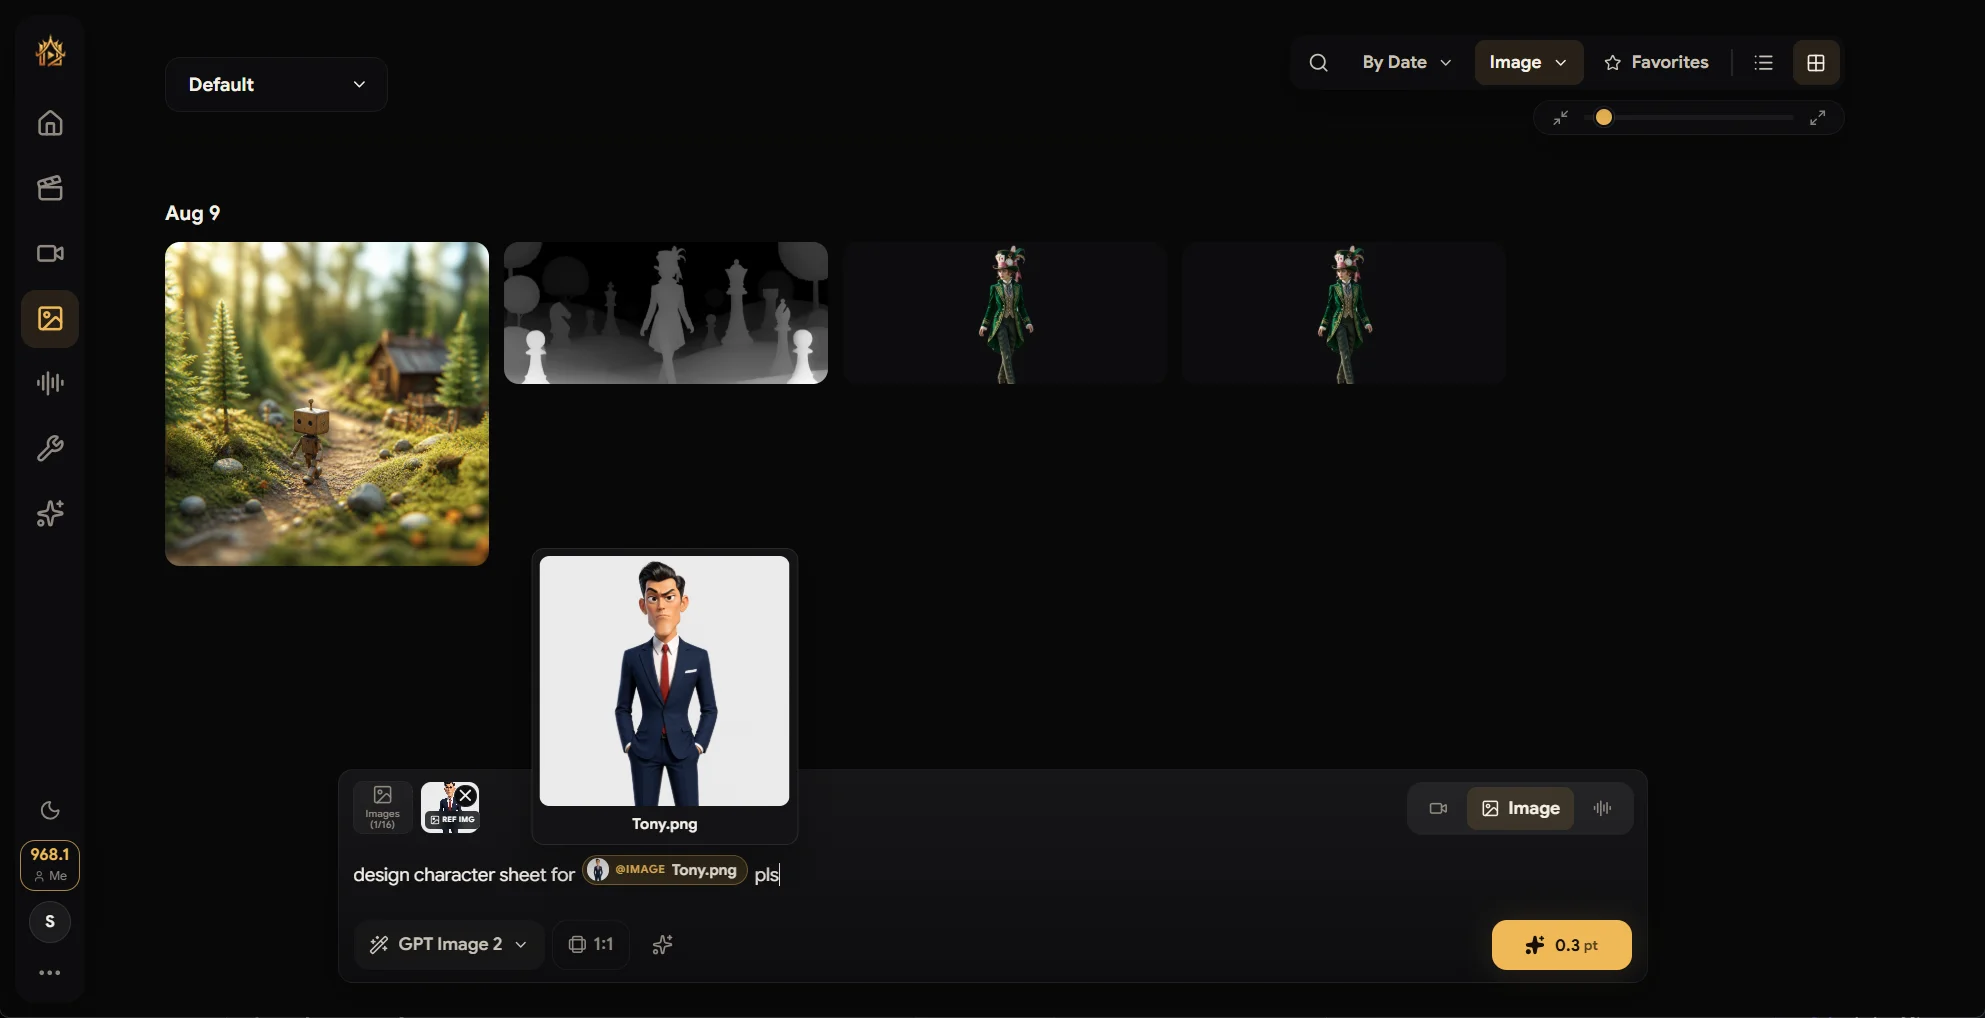
"design character sheet for @Tony.png" — one attachment, one mention, and
the generation is locked onto that exact character. The same attach-and-mention
pattern works on the Video and Audio pages too.
2. Generate
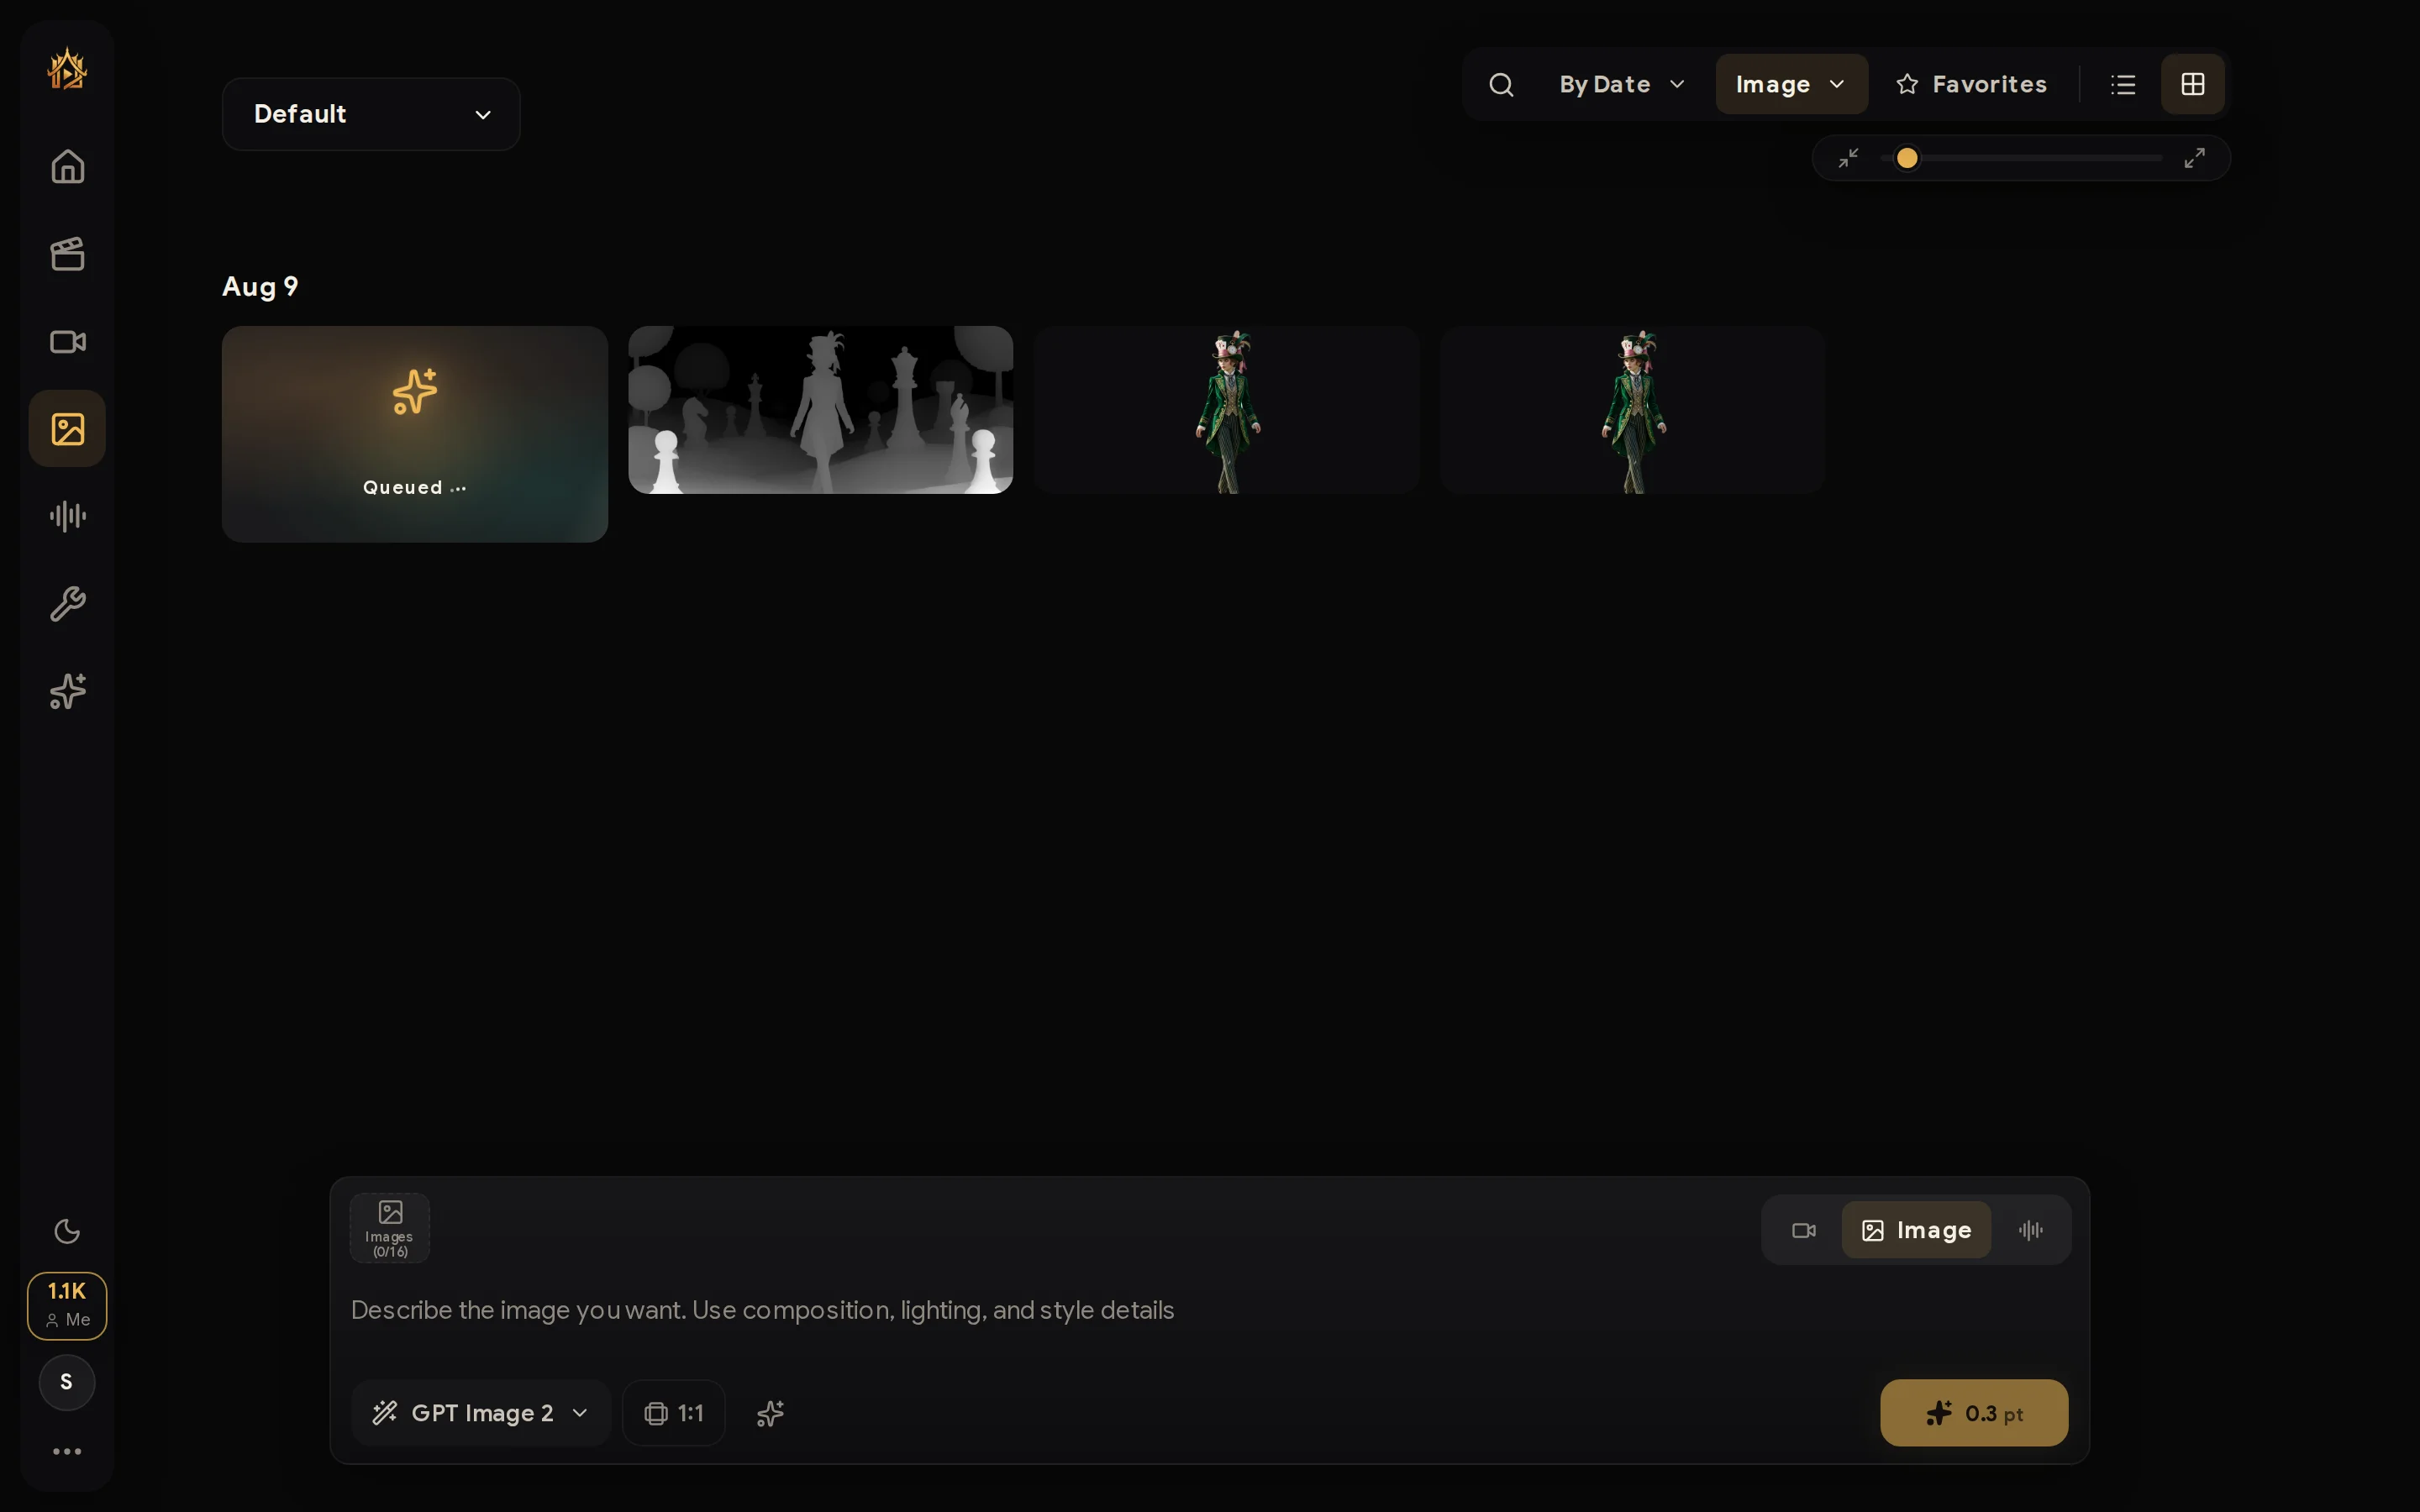
Press the gold Generate button (it shows the point cost, e.g. 0.3 pt).
The new card appears in your history while it renders.
Generation settings
The ratio chip next to the model (e.g. 1:1) opens Generation settings —
the full quality panel for the run:
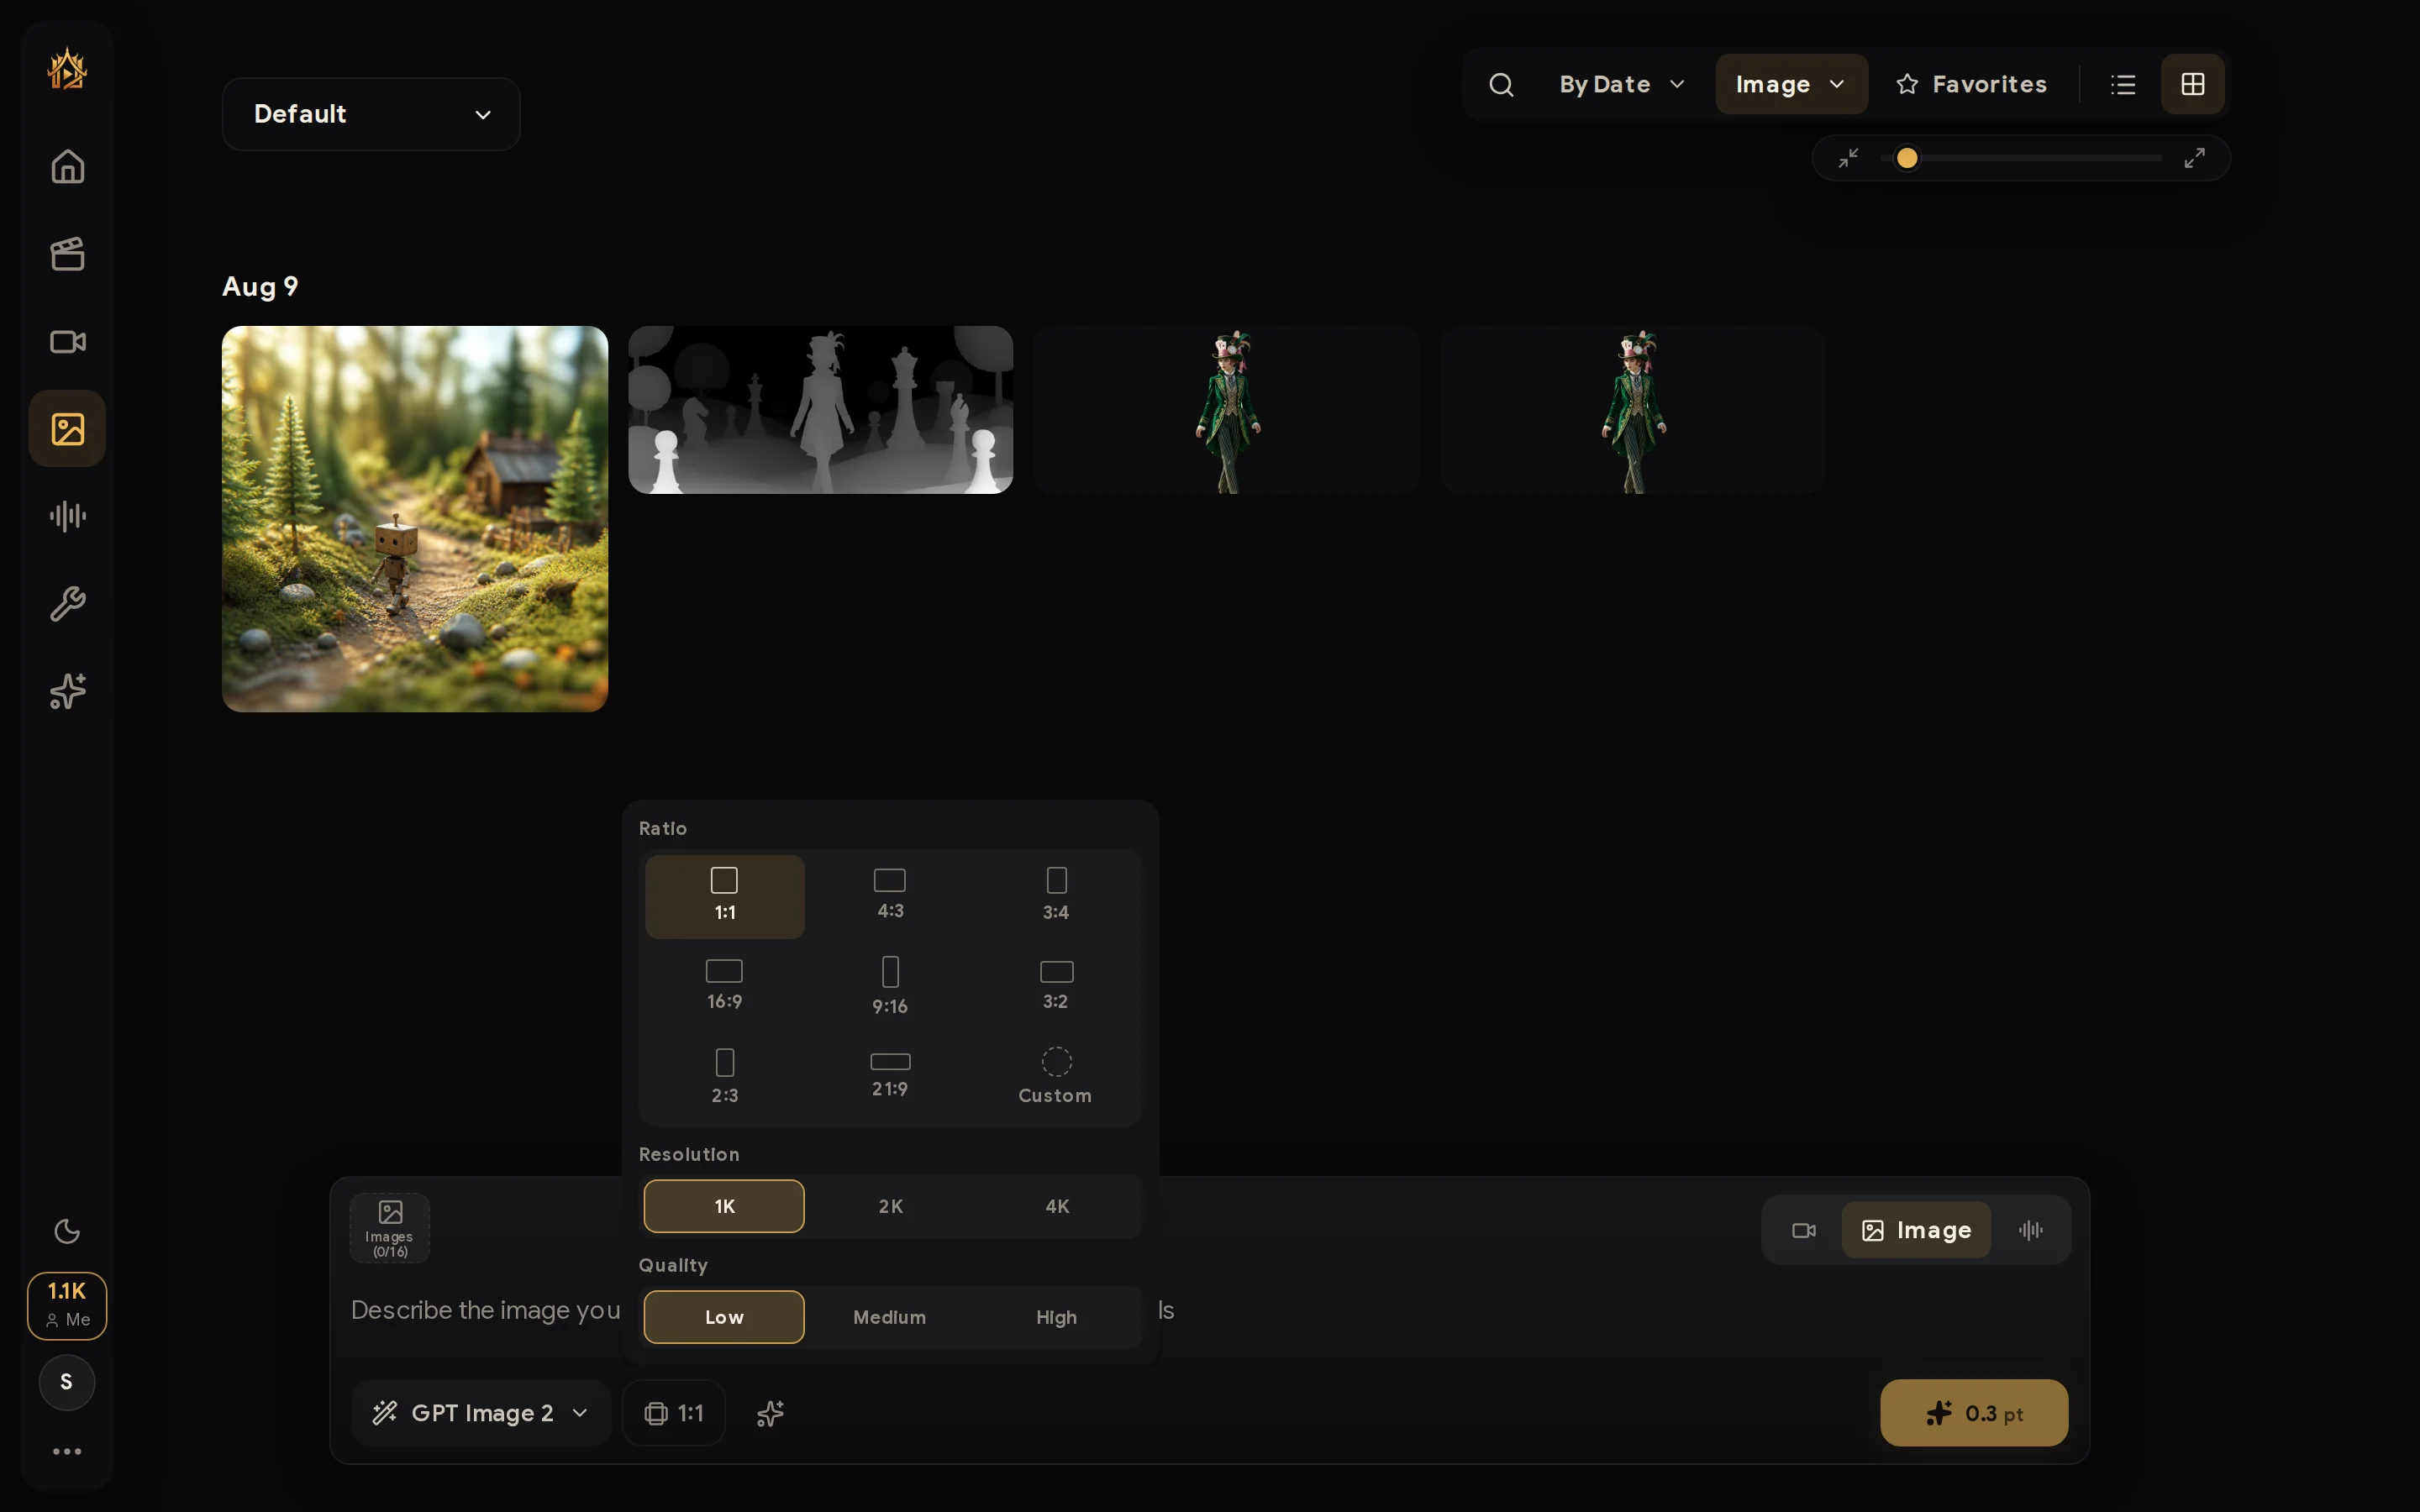
- Ratio —
1:1,4:3,3:4,16:9,9:16,3:2,2:3,21:9, or Custom. Pick the frame before you generate; don't crop gold afterwards. - Resolution —
1K,2K,4K. Drafts belong in 1K; save 4K for final picks (higher resolution costs more points). - Quality —
Low,Medium,High. Quality raises detail fidelity — and the price scales with it, always shown on the button before you run.
⚙️ The exact choices depend on the model you selected — each model exposes the ratios, resolutions, and quality tiers it actually supports, so this panel can look different between models.
3. Browse your history
Finished images land in the grid, newest first, grouped by date. Hover a card to favorite, delete, or open it.
The top-right toolbar controls how you browse:
- Search (magnifier) — find records by their prompt text.
- Sort —
By Dateand other orders from the dropdown. - Type filter — show only
Image,Video, orAudiorecords. - Favorites — keep just the keepers on screen.
- List / Grid view — switch between a compact table and the visual grid.
- Zoom slider — resize thumbnails from contact-sheet to near-full-width.
4. Open the detail view
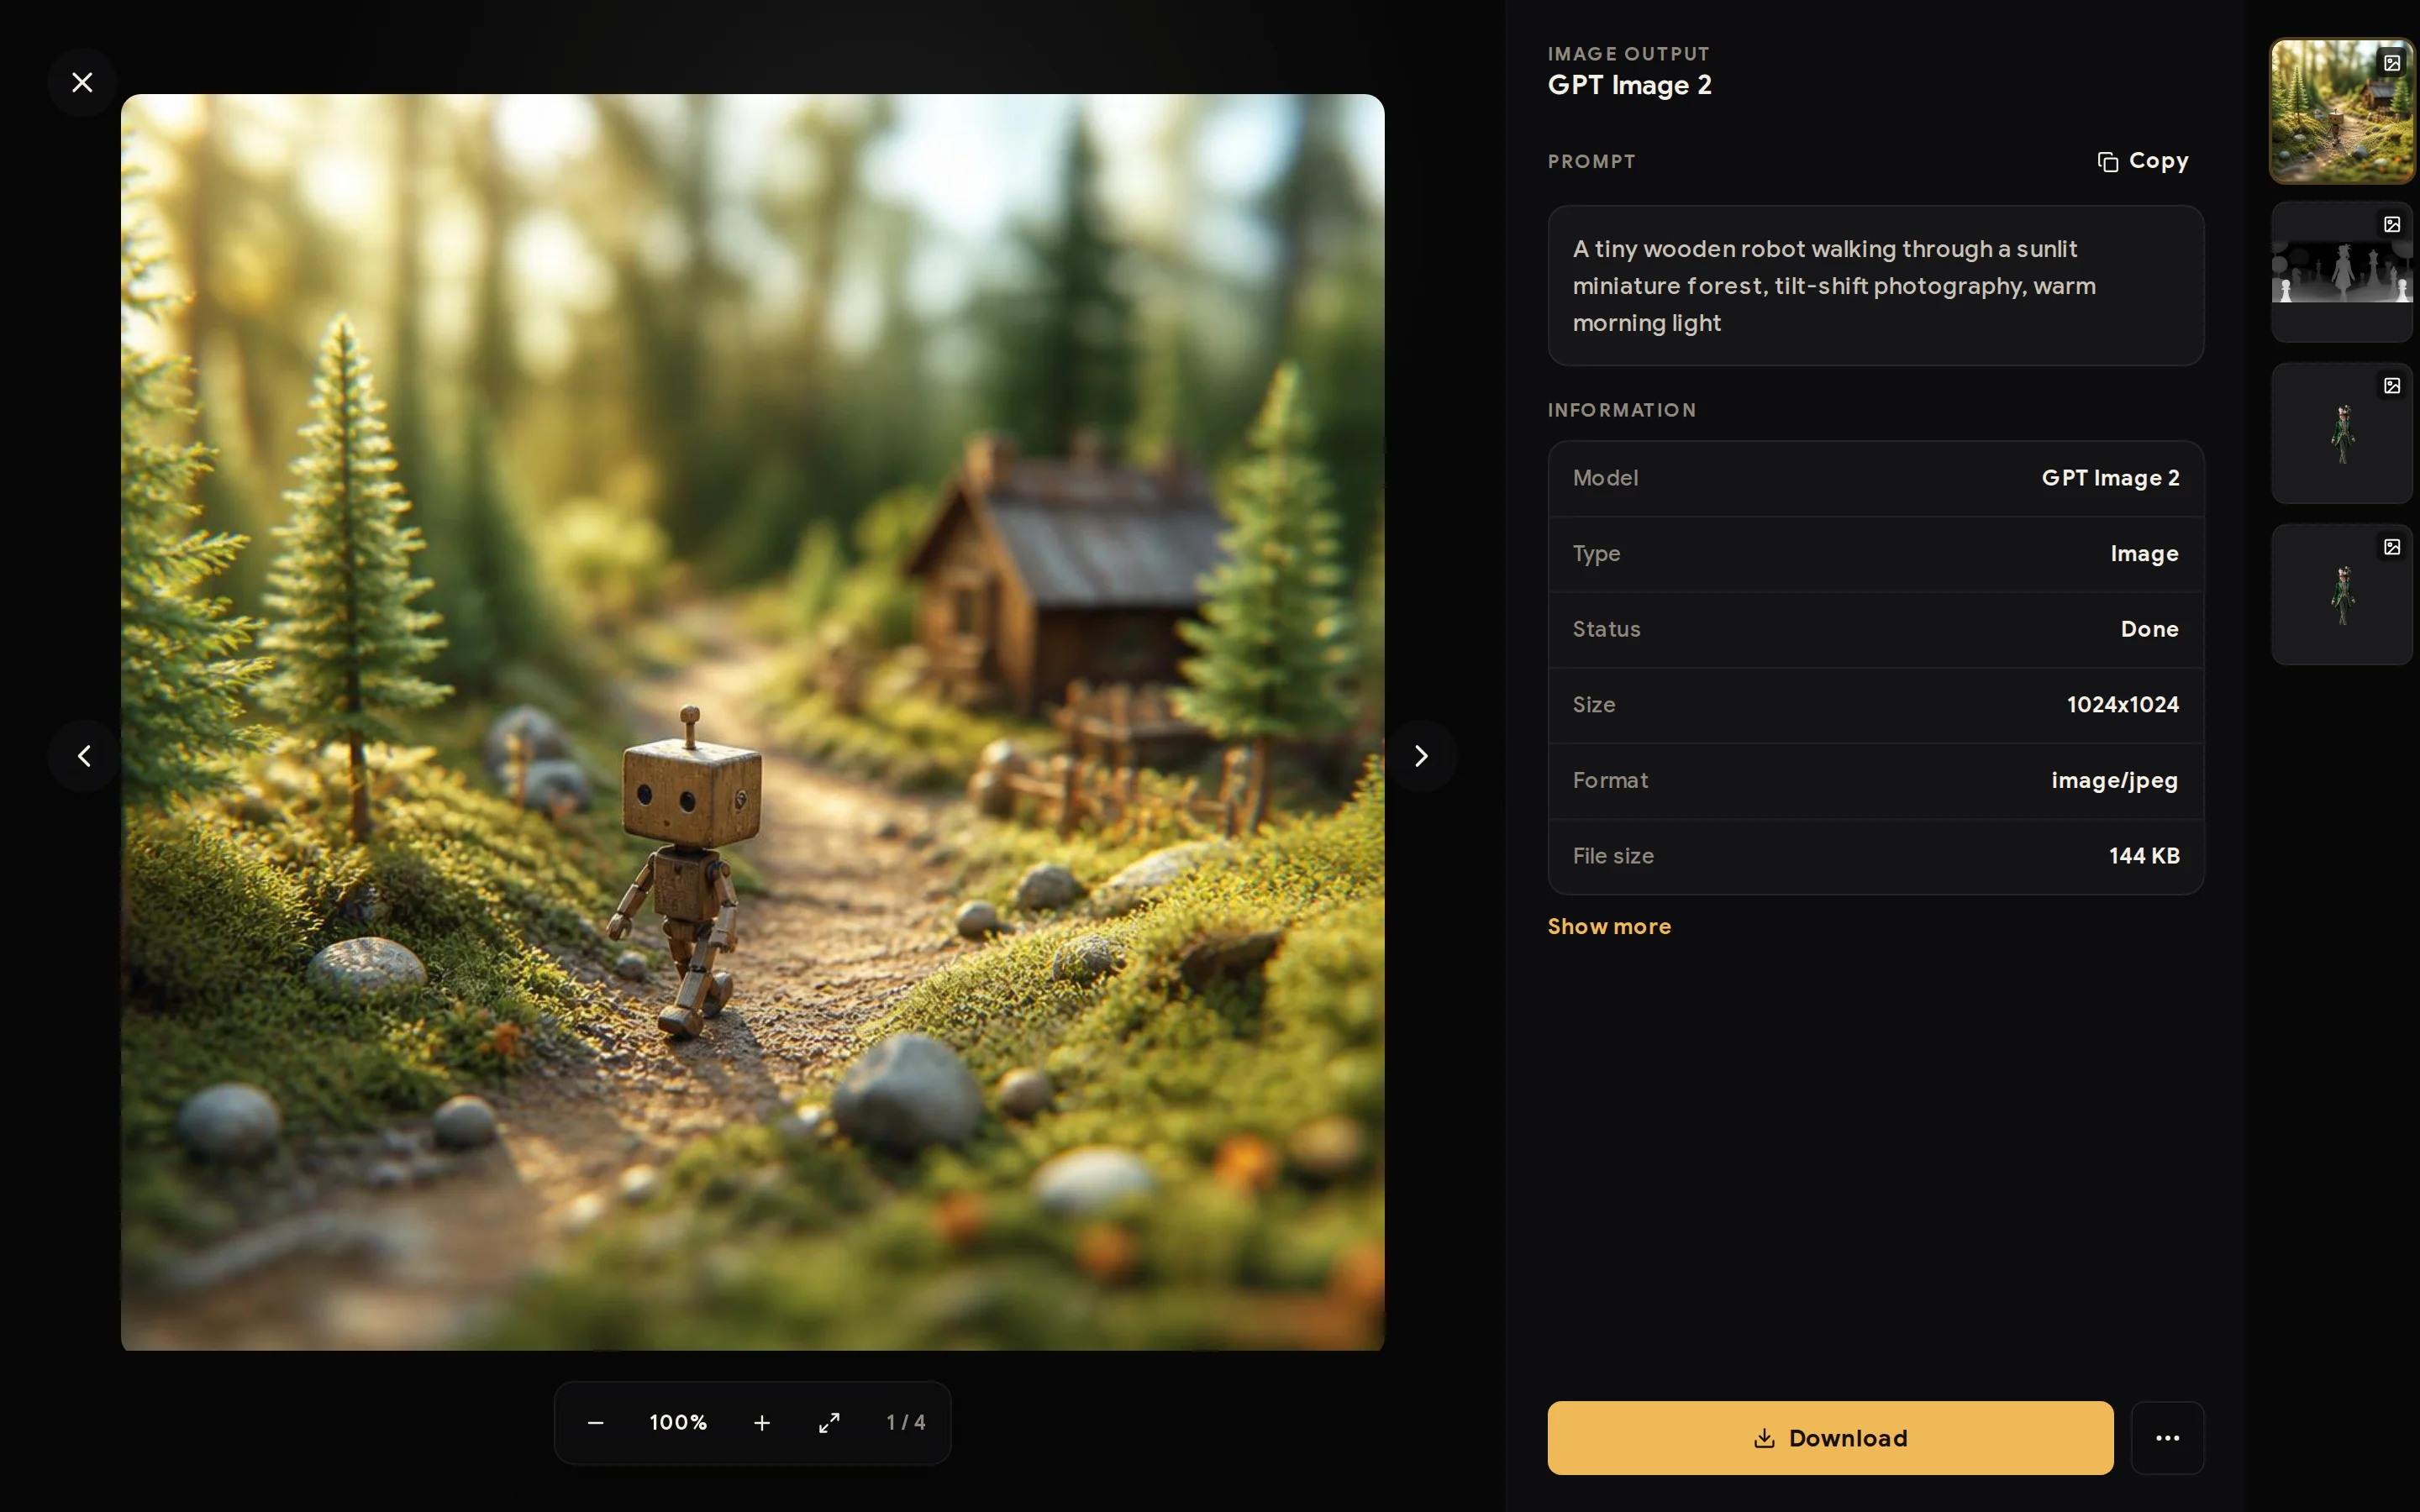
Click any record and it opens full-screen with everything about that generation:
- The prompt — with one-click Copy, so you can remix a winning look instantly.
- Information — model, type, status, dimensions, format, file size, and more under Show more.
- Zoom controls and a pager (e.g.
1 / 4) for multi-image runs. - A floating navigator on the right — click any thumbnail to jump between records without closing the viewer, or use the side arrows.
- Download the original file, or open more actions from the
⋯menu.
5. Organise with folders
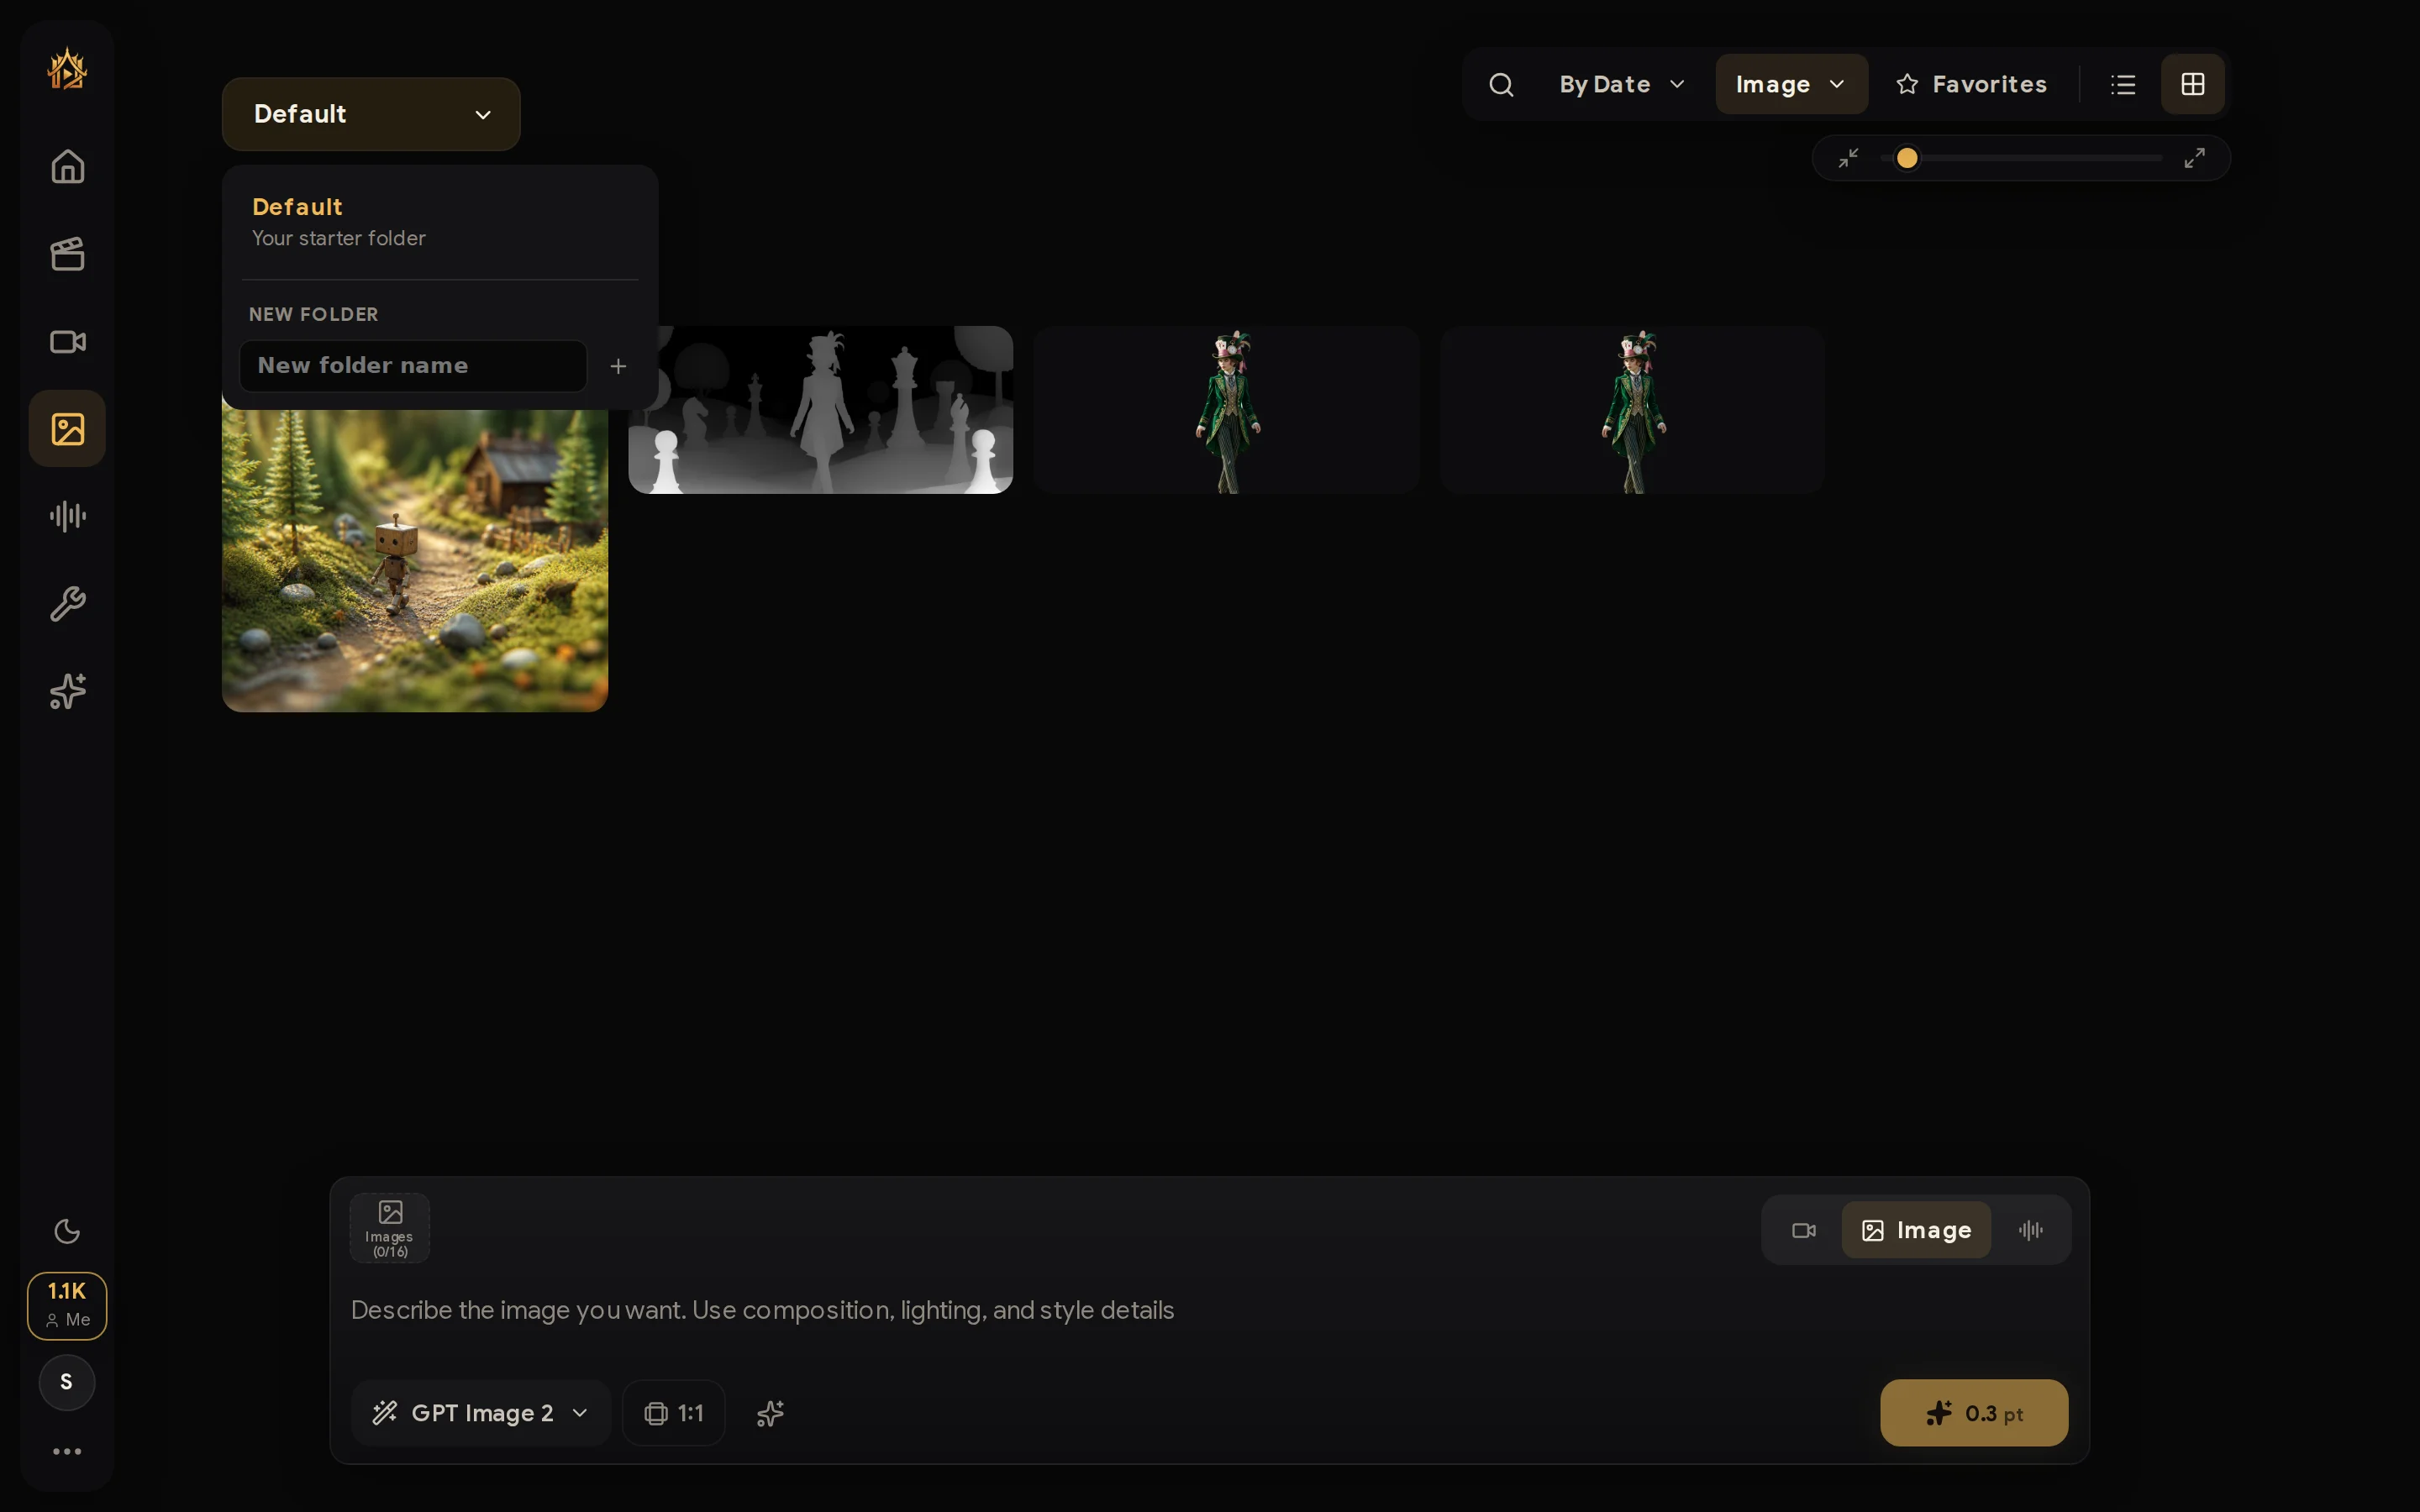
The folder dropdown (top-left) scopes both the history you see and where new generations are saved. Your account starts with Default — create more folders per client, per project, or per experiment, and switch the composer's Save to target so every run files itself.
💡 Everything you generate anywhere in Siamshort — including Tools — is saved into this same Workspace history.